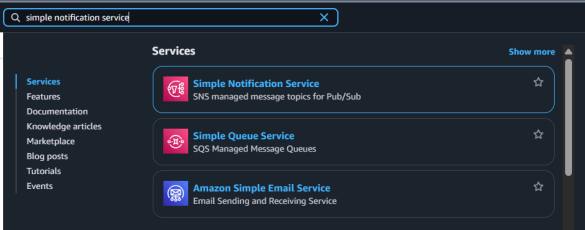
Creating an SNS topic and subscribing through email in AWS is a straightforward process that begins by logging into the AWS Management Console and navigating to the Simple Notification Service, commonly known as SNS, from the list of available services.
Once you reach the SNS dashboard, you start by selecting the Topics section and clicking the Create topic button to generate a new notification channel. You can choose the Standard topic type, which is suitable for most general-purpose messaging scenarios, and then enter a descriptive name for your topic so it can be easily identified later. After providing the name and reviewing any optional settings such as display names or encryption options, you proceed by clicking Create topic, which takes you to the topic’s details page.
From here, you initiate the process of email subscription by selecting the Create subscription option, which opens a form where you must choose Email from the protocol dropdown menu. In the endpoint field, you type the email address where you want the notifications to be delivered, ensuring it is accurate because SNS sends a confirmation message to that address.
After clicking Create subscription, AWS immediately sends a confirmation email containing a link that must be opened for the subscription to be activated. When the user clicks Confirm subscription, the status in the SNS console changes from Pending confirmation to Confirmed, indicating that the email endpoint is now successfully subscribed to the topic.
To verify that everything is functioning correctly, you can publish a test message by selecting the Publish message option on the topic page, entering a subject and message body, and sending it. Within a few moments, the message should appear in the subscribed email inbox, confirming that the SNS topic and email subscription are properly configured and ready for use in notification workflows, automation tasks, or application-driven alerts.

Lab Steps
Step 1: Sign to the AWS Management Console
1. Click on the Open Console button, and you will get redirected to AWS Console in a new browser tab.
2. Copy your User Name and Password in the Lab Console to the IAM Username and Password in the AWS Console and click on the Sign in button.
Step 2: Creating SNS Topic
1. Make sure your AWS region is selected as US East (N. Virginia).
2. Proceed to the Services directory and select Simple Notification Service (SNS) beneath the Application Integration category.
3. Enter Topic name and click on Next Button.
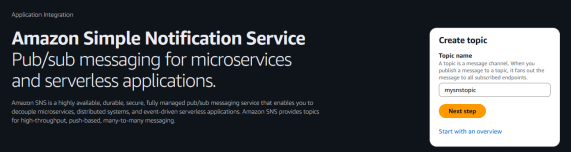
4. Under Details.
- Type : Select Stantdard.
- Name: mysnstopic.
- Display name: mysnsnotification.
5.An SNS topic will be created.
NOTE: Ignore below error message.
Step 3: Subscribing to the Topic
- Once the SNS Topic is created , click on your topic.
- Click on Create Subscription button.
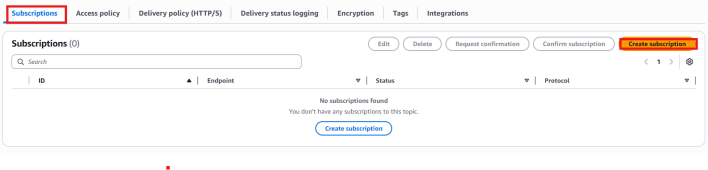
- Under details:
- Protocol : Select Email
- EndPoint: Enter your <mail id>
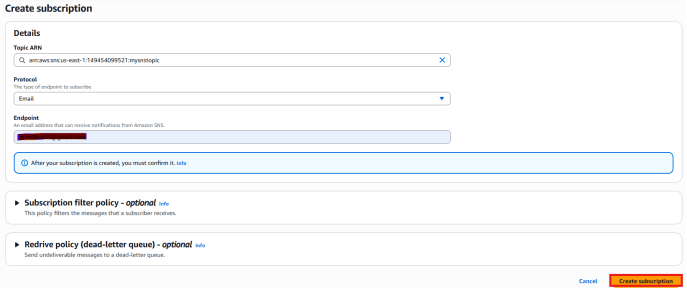
NOTE: Make sure you will give a valid mail address as you will receive an SNS notification to this address.
4. Click on create subscription.
5. You will receive an email in your mail box from SNS, if its not in the inbox, please check in Spam folder.
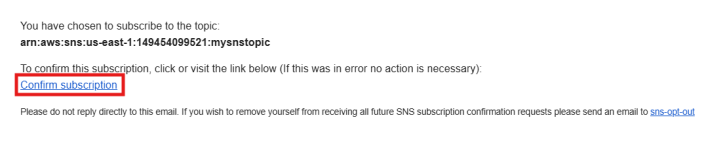
6. Click on Confirm subscription.
7. Your email address is now subscribed to SNS Topic mysnstopic.
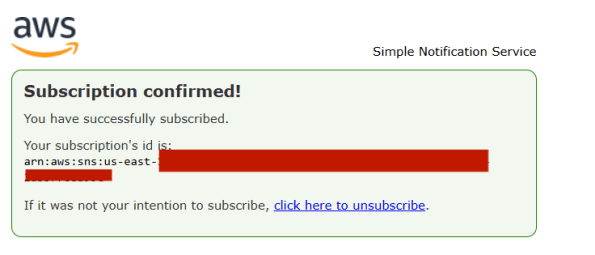
8. You can unsubscribe to the SNS topic at anytime.

Conclusion.
- SNS topic created successfully
- Email subscribed and confirmed
- Test notification received correctly
- For more information about AWS SNS, you can refer to Jeevi’s page.