Introduction:
Launching an EC2 instance and SSH using PuTTY refers to the process of creating a virtual server (EC2 instance) in AWS and then securely connecting to it from a Windows computer using PuTTY, an SSH client.
Lab Steps
Step 1: Sign to the AWS Management Console
1. Click on the Open Console button, and you will get redirected to AWS Console in a new browser tab.
2. Copy your User Name and Password in the Lab Console to the IAM Username and Password in the AWS Console and click on the Sign in button.
3.Once Signed In to the AWS Management Console, Make the default AWS Region as US East (N. Virginia) us-east-1.
Step 2: Launch an EC2 Instance
1. Ensure your AWS region is set to US East (N. Virginia) – us-east-1.
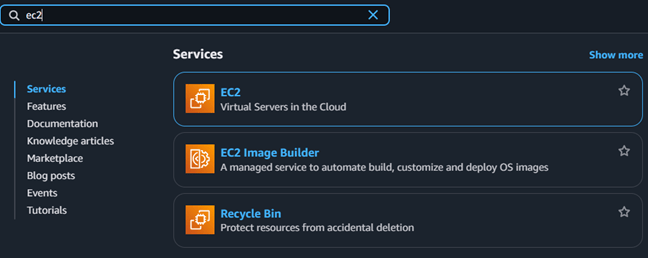
2. Go to EC2 by opening the Services menu at the top and selecting EC2 under the Compute category.
3. On the left-hand menu, click Instances, then press the Launch Instance button.
4. Set the Name of the instance to MyEC2Server.

5. Select an Amazon Machine Image (AMI): Choose Amazon Linux 2023 kernel-6.1 AMI from the available options.

6. Select an Instance Type: Pick t2.micro for your instance.

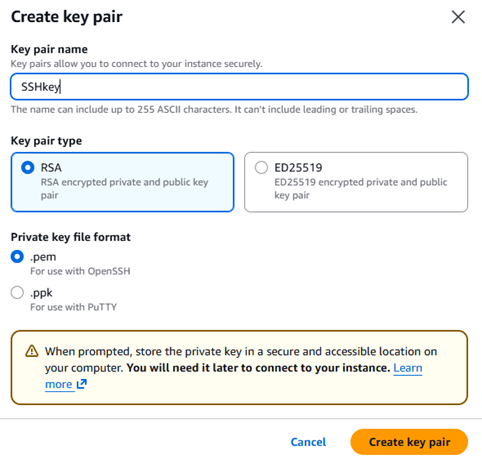
7. Create a New Key Pair: Click the Create new key pair link.
8. Configure the Key Pair: Enter SSHkey as the key name. Choose .pem for macOS/Linux or .ppk for Windows depending on your system, then click Create Key Pair.
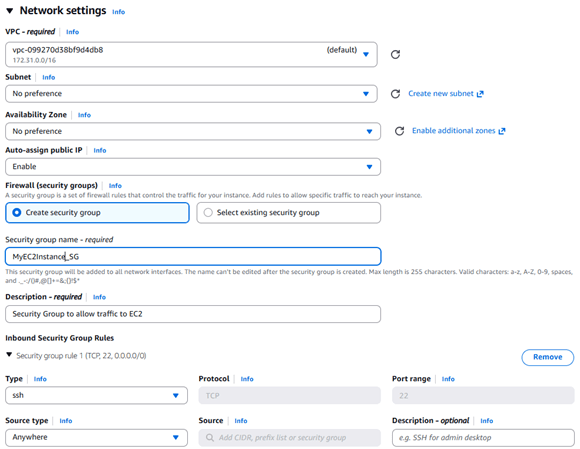
9. Configure Network Settings: Click Edit.
a. Auto-assign Public IP: Enable it.
b. Security Group: Select Create new Security group.
Name: Enter MyEC2Server_SG.
Description: Enter Security group to allow traffic to EC2.
c. Inbound Rules:
Type: SSH
Source: Anywhere (IPv4)
10. Launch the Instance: Your EC2 instance will start launching. Click View Instances to see it in the dashboard. Wait until the Instance State shows running.
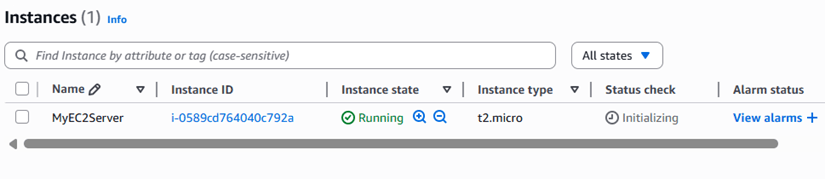
11. Note the Public IP: Record the IPv4 Public IP Address of your instance for SSH access.

Step 3: SSH into EC2 Instance For macOS/Linux Users
1. Open the Terminal on your local machine.
2. Navigate to the folder where your key pair (.pem) file is saved.
3. Set the correct permissions for the key by running:
chmod 400 "SSHkey.pem"4. Connect to the EC2 instance via SSH using the command:
ssh -i .pem ec2-user@
5. When prompted, type yes and press Enter. You will then be successfully logged into your EC2 instance.
Step 4: Running Commands
1. Switch to root user:
sudo su2. Run updates using the following command:
yum -y update
3. To find your current working directory, enter the command pwd
4. Enter the exit command then again exit to log out of Putty.
conclusion
1. You have successfully created and started an EC2 instance.
2. You have accessed the EC2 machine through SSH as a Linux user.
“Refer to Jeevi’page for more on EC2 instance”